Traffic Light
People have asked what would be a good project to learn how to code, I always said a traffic light. Eventually one of them asked me to help them set it up. It quickly became obvious that breadboarding a traffic light with more than just one direction gets very messy very quick and is hard to visualize since all the LEDs are pointing up. This board fixes that. Grab a board and the components, follow my tutorial for how to solder it together, and just plug it into your arduino / nodemcu / raspberryPi / whatever and get coding!
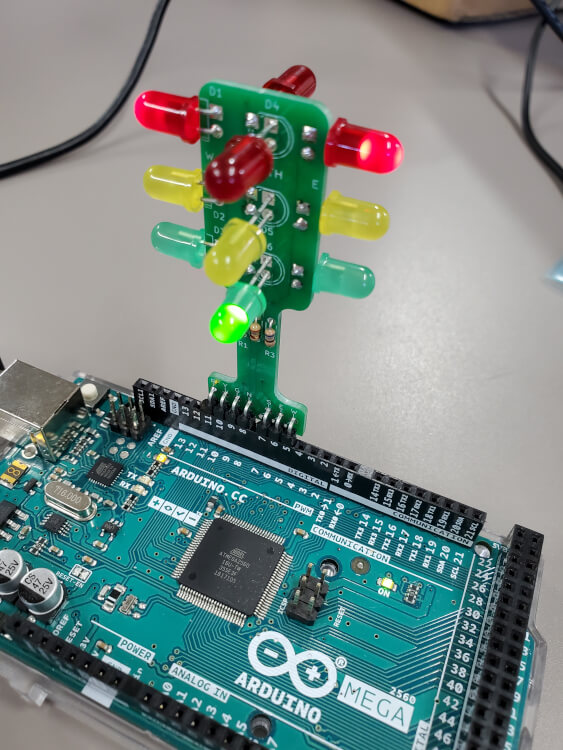
Clean compact package, easy to see what's going on, and a neat little trinket to have running on your desk!
There's a lot to be desired with the standard one way kits, they show you how to turn LEDs on in sequence, but wouldn't it be more exciting to figure out how to do that same thing but in four directions at the same time? This board controls 12 LEDs with only 7 pins, making this a great tool to learn how multiplexing works. But, don't worry, it can be used the same as a one way light too, so the initial learning curve will be the same, but there is just so much more potential if you choose to explore.
Board with recommended components is 3.3v and 5v compatible, reverse polarity safe, and durable enough to survive being in a box with the rest of your parts.
With any luck, it wont be too difficult to follow along. I did my best to take pictures and explain everything in a non confusing manner, we'll see if it went as well as I hoped.
None of these have been tested, I threw them together in notepad. They should work, but let me know if they don't.
Here's the information for the hardware. Included is the schematic so you can see how it works, as well as the PCB production files if you want to make your own, and a bill of materials so you know which components you'll need.
Order a preconfigured PCB via PCBWay Shared Projects.